Watch the Video Here or continue reading below
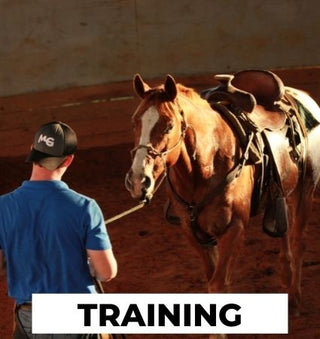
Are you ready to elevate your horse training skills? Today, we’re diving into the foundational steps of neck reining. With my equine partner, Mr. Rocket—a young Percheron-Rocky Mountain cross colt—we’ll explore how to transition your horse from two-handed riding to one-handed mastery. This shift opens up a world of possibilities, from mounted archery to roping, polo, and more. Let’s get started!
Why Neck Reining Matters
The Benefits of Riding One-Handed
-
Versatility: A free hand allows you to engage in various disciplines like roping or archery.
-
Precision: Mastering one-handed riding enhances your horse’s responsiveness and your control.
-
Safety: With better steering, you can navigate challenging situations with confidence.
Step 1: Understanding the Starting Point
Where Your Horse Is Now
Many horses begin their training with two-handed riding. Whether you’re working with a young colt, a gaited horse, or an English-trained horse, this method focuses on direct rein cues. For instance:
-
To turn right, you pull the right rein, directing the horse’s head.
While effective, this approach primarily steers through the head rather than engaging the shoulders—a key difference we’ll address.
Step 2: Introducing Pivoting
The Foundation of Neck Reining
Pivoting is the cornerstone of neck reining. Here’s how to start:
-
Visual Cue: Look in the direction you want to turn (e.g., right).
-
Outside Rein Warning: Begin using the outside rein as a cue before applying the inside rein.
-
Reinforcement: Apply outside leg pressure to guide the turn.
By adding slight pressure with the outside rein, you teach your horse to steer with its shoulders rather than over-flexing the head.
Step 3: Shaping the Response
Building Shoulder Control
As your horse begins to understand the pivoting cue, focus on these adjustments:
-
Use the outside rein as a boundary, preventing the horse from over-flexing.
-
Open the inside rein less, encouraging the horse to rely on the outside rein for direction.
-
Reward the correct response by immediately releasing pressure.
Step 4: Transitioning to One-Handed Riding
From Two Hands to One
Once your horse shows consistent progress, begin riding one-handed:
-
Directional Cues: Use the hand corresponding to the turn direction (e.g., right hand for a right turn).
-
Return to Neutral: After turning, bring your hand back to the withers to signal straight movement.
-
Leg Aids: Reinforce turns with precise leg pressure.
If your horse over-corrects or gets stuck, use gentle bumps with the rein to guide them.
Setting Up for Success
Repetition and Clarity
Success comes from clear, consistent training. Practice turning in the same direction multiple times before switching. This repetition helps your horse anticipate and understand the desired response.
Preparation Matters
Each layer of training builds on the last. A well-prepared horse moves seamlessly through each stage, making the transition to one-handed riding smoother and more enjoyable.
Conclusion
Mastering neck reining transforms your riding experience. It enhances communication, opens up new disciplines, and builds a stronger bond between you and your horse. With consistent practice, your two-handed horse will soon excel as a one-handed partner. Stay tuned for Part 2, where we’ll take these skills to the next level!
Get 30-day horse training for FREE—join the Horse Help Challenge now HERE!